Lead/ Support Chatbots
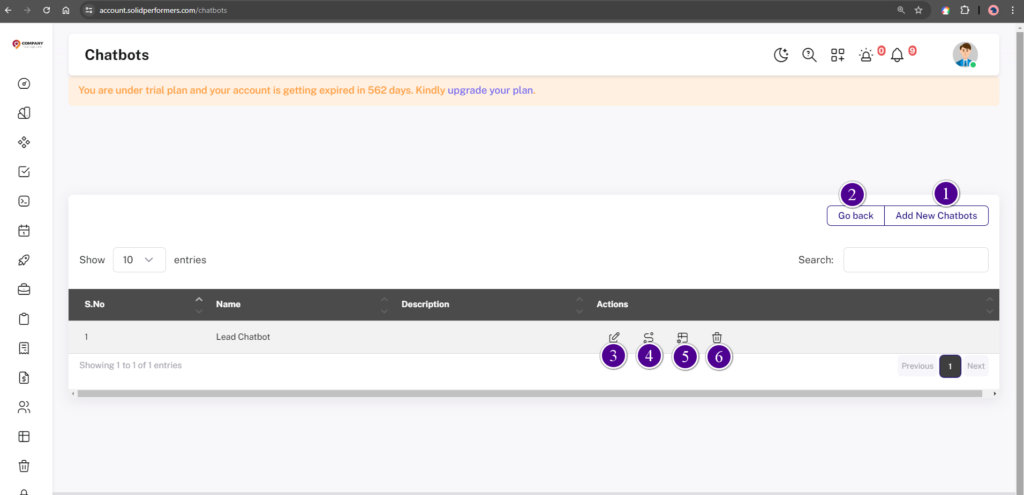
1. Add New Chatbot
Use the “Add New Chatbot” button to create a new chatbot.
2. Go Back
Using the “Go Back” button, you can return to the previous page.
3. Edit Icon
Using the “Edit Icon” button, you can rename the chatbot and update its description.
4. Chatbot Steps/Flow
Using the “Chatbot Steps/Flow” button, you can add steps to the chatbot. For more details click here
5. Chatbot Settings
Using the “Chatbot Settings” button, you can change the chatbot icon, update the color scheme, and obtain the integration code. For more details, click here.
4.1 Chatbot Steps/Flow In detail
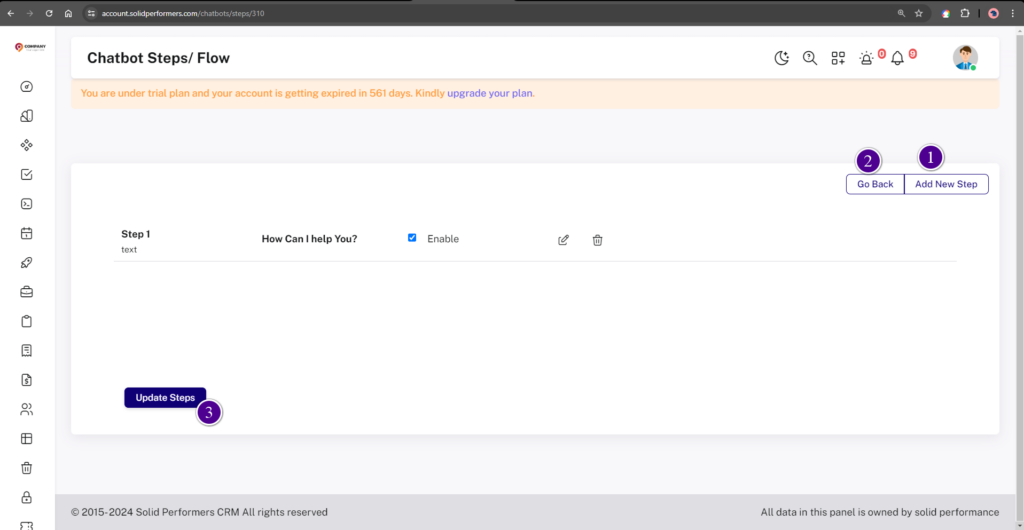
- Using the “Add New Step” button, you can add new steps. Steps define the chatbot’s responses, such as the reply to a “hi” message. For more details Click here.
- Using the “Go Back” button, you can return to the previous page.
- Using the “Update Steps” button, you can save the steps you have created.
4.1.1 Add New Step in detail
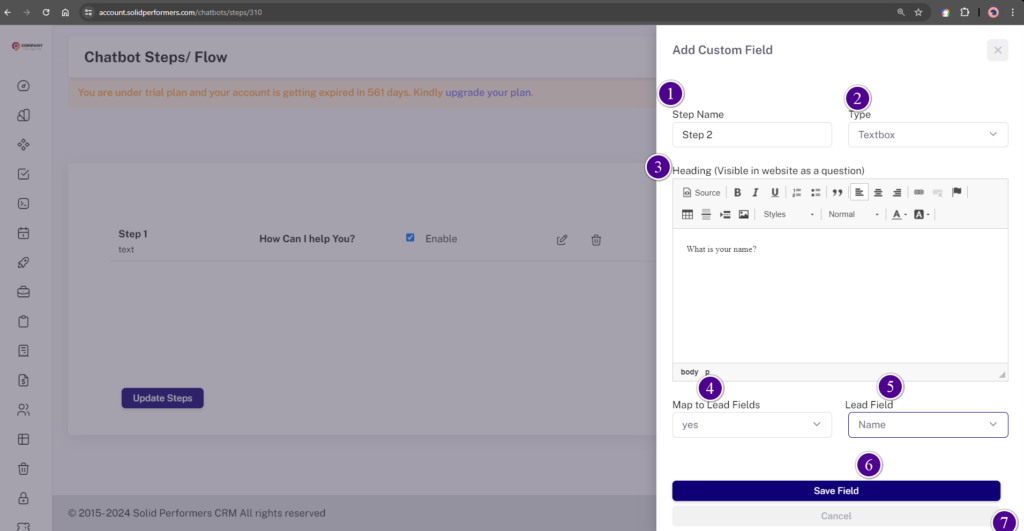
1. Enter the step/flow name.
2. Select the type of step you are creating. Do you want to include text, mobile number, email ID, clock, calendar, or sections in the conversation?
3. Enter the content for the message that should be displayed in the chatbot.
4. Using “Map Field,” you can capture the answers to specific messages or questions in the CRM by selecting the appropriate field.
5. Use the “Save” button to save the step.
6. Use the “Cancel” button to close the step without saving.
5.1 Chatbot Setting
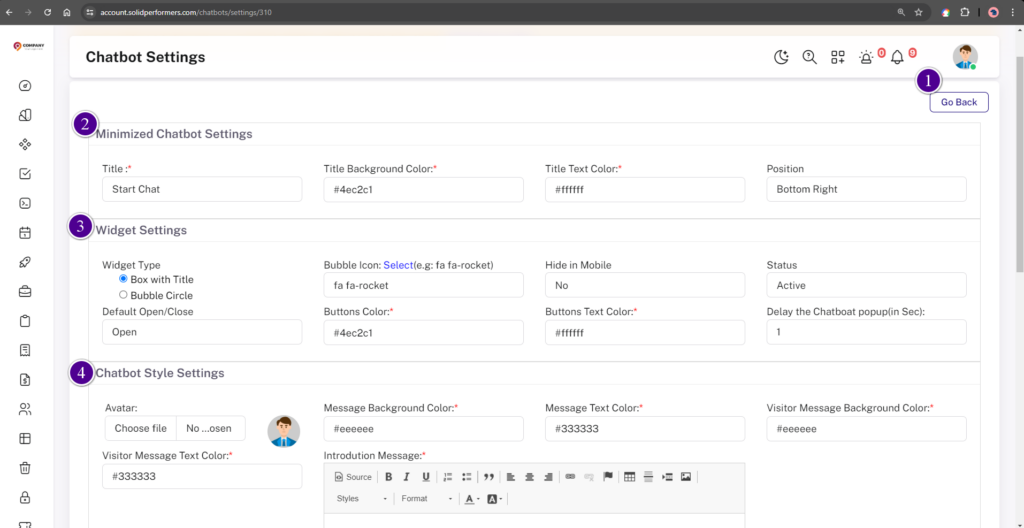
- Minimized Chatbot Settings: In this setting, you can enter details like the chatbot title, background color, and other basic details.
- Widget Settings: Enter basic details and select options such as the widget’s width and other preferences.
- Chatbot Style Settings: Choose the styles you want for the chatbot here.
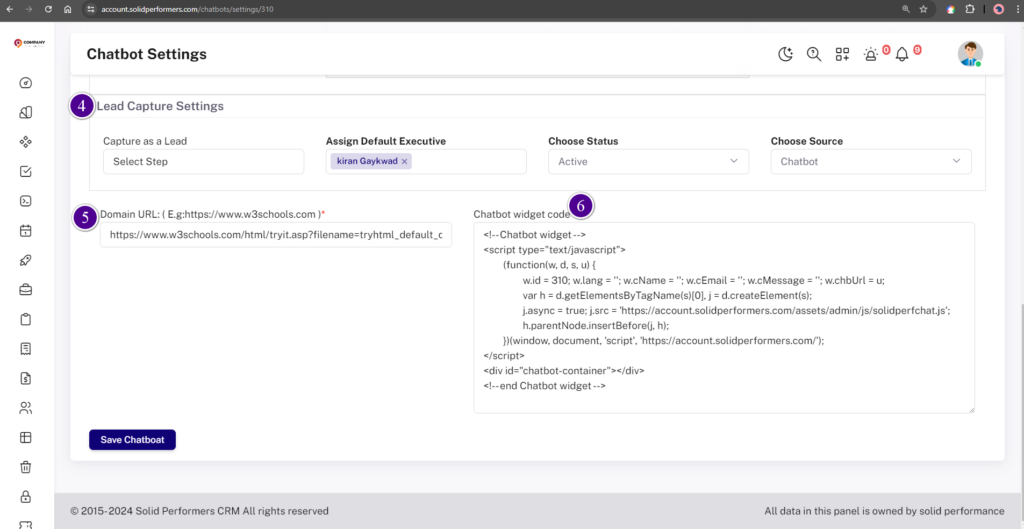
4. Lead Capture Settings: In this setting, you can:
- Select the flow from which to start capturing lead details in the CRM.
- Choose the executive to whom these leads should be assigned.
- Select the status in which the leads should be categorized.
- Choose the source name from which the leads should be captured in the CRM.
5. Domain URL: In this box, enter the URL of the website where you want to integrate the chatbot.
6. Chatbot Widget Code: Here, you will get an integration code. You can copy this code and give it to your website developer to integrate the chatbot.